This is the multi-page printable view of this section. Click here to print.
Tutorials
1 - Create a Kubernetes Cluster on Azure with Gardener
Overview
Gardener allows you to create a Kubernetes cluster on different infrastructure providers. This tutorial will guide you through the process of creating a cluster on Azure.
Prerequisites
- You have created an Azure account.
- You have access to the Gardener dashboard and have permissions to create projects.
- You have an Azure Service Principal assigned to your subscription.
Steps
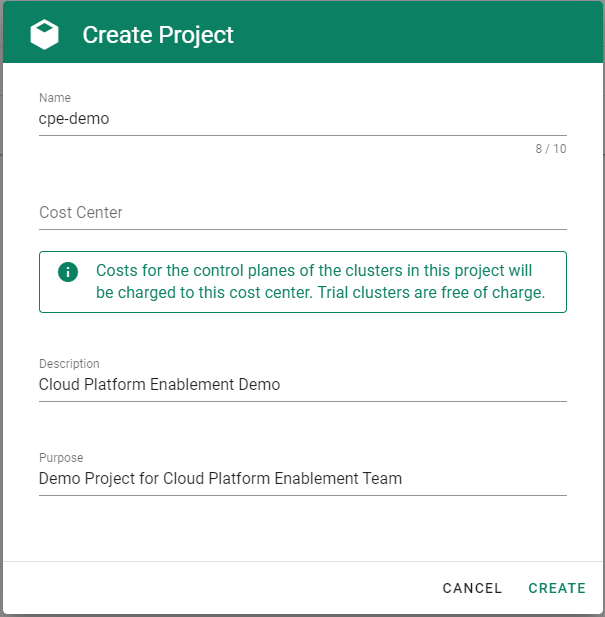
Go to the Gardener dashboard and create a Project.
Get the properties of your Azure AD tenant, Subscription and Service Principal.
Before you can provision and access a Kubernetes cluster on Azure, you need to add the Azure service principal, AD tenant and subscription credentials in Gardener. Gardener needs the credentials to provision and operate the Azure infrastructure for your Kubernetes cluster.
Ensure that the Azure service principal has the actions defined within the Azure Permissions within your Subscription assigned. If no fine-grained permission/actions are required, then simply the built-in
Contributorrole can be assigned.Tenant ID
To find your
TenantID, follow this guide.SubscriptionID
To find your
SubscriptionID, search for and select Subscriptions.
After that, copy the
SubscriptionIDfrom your subscription of choice.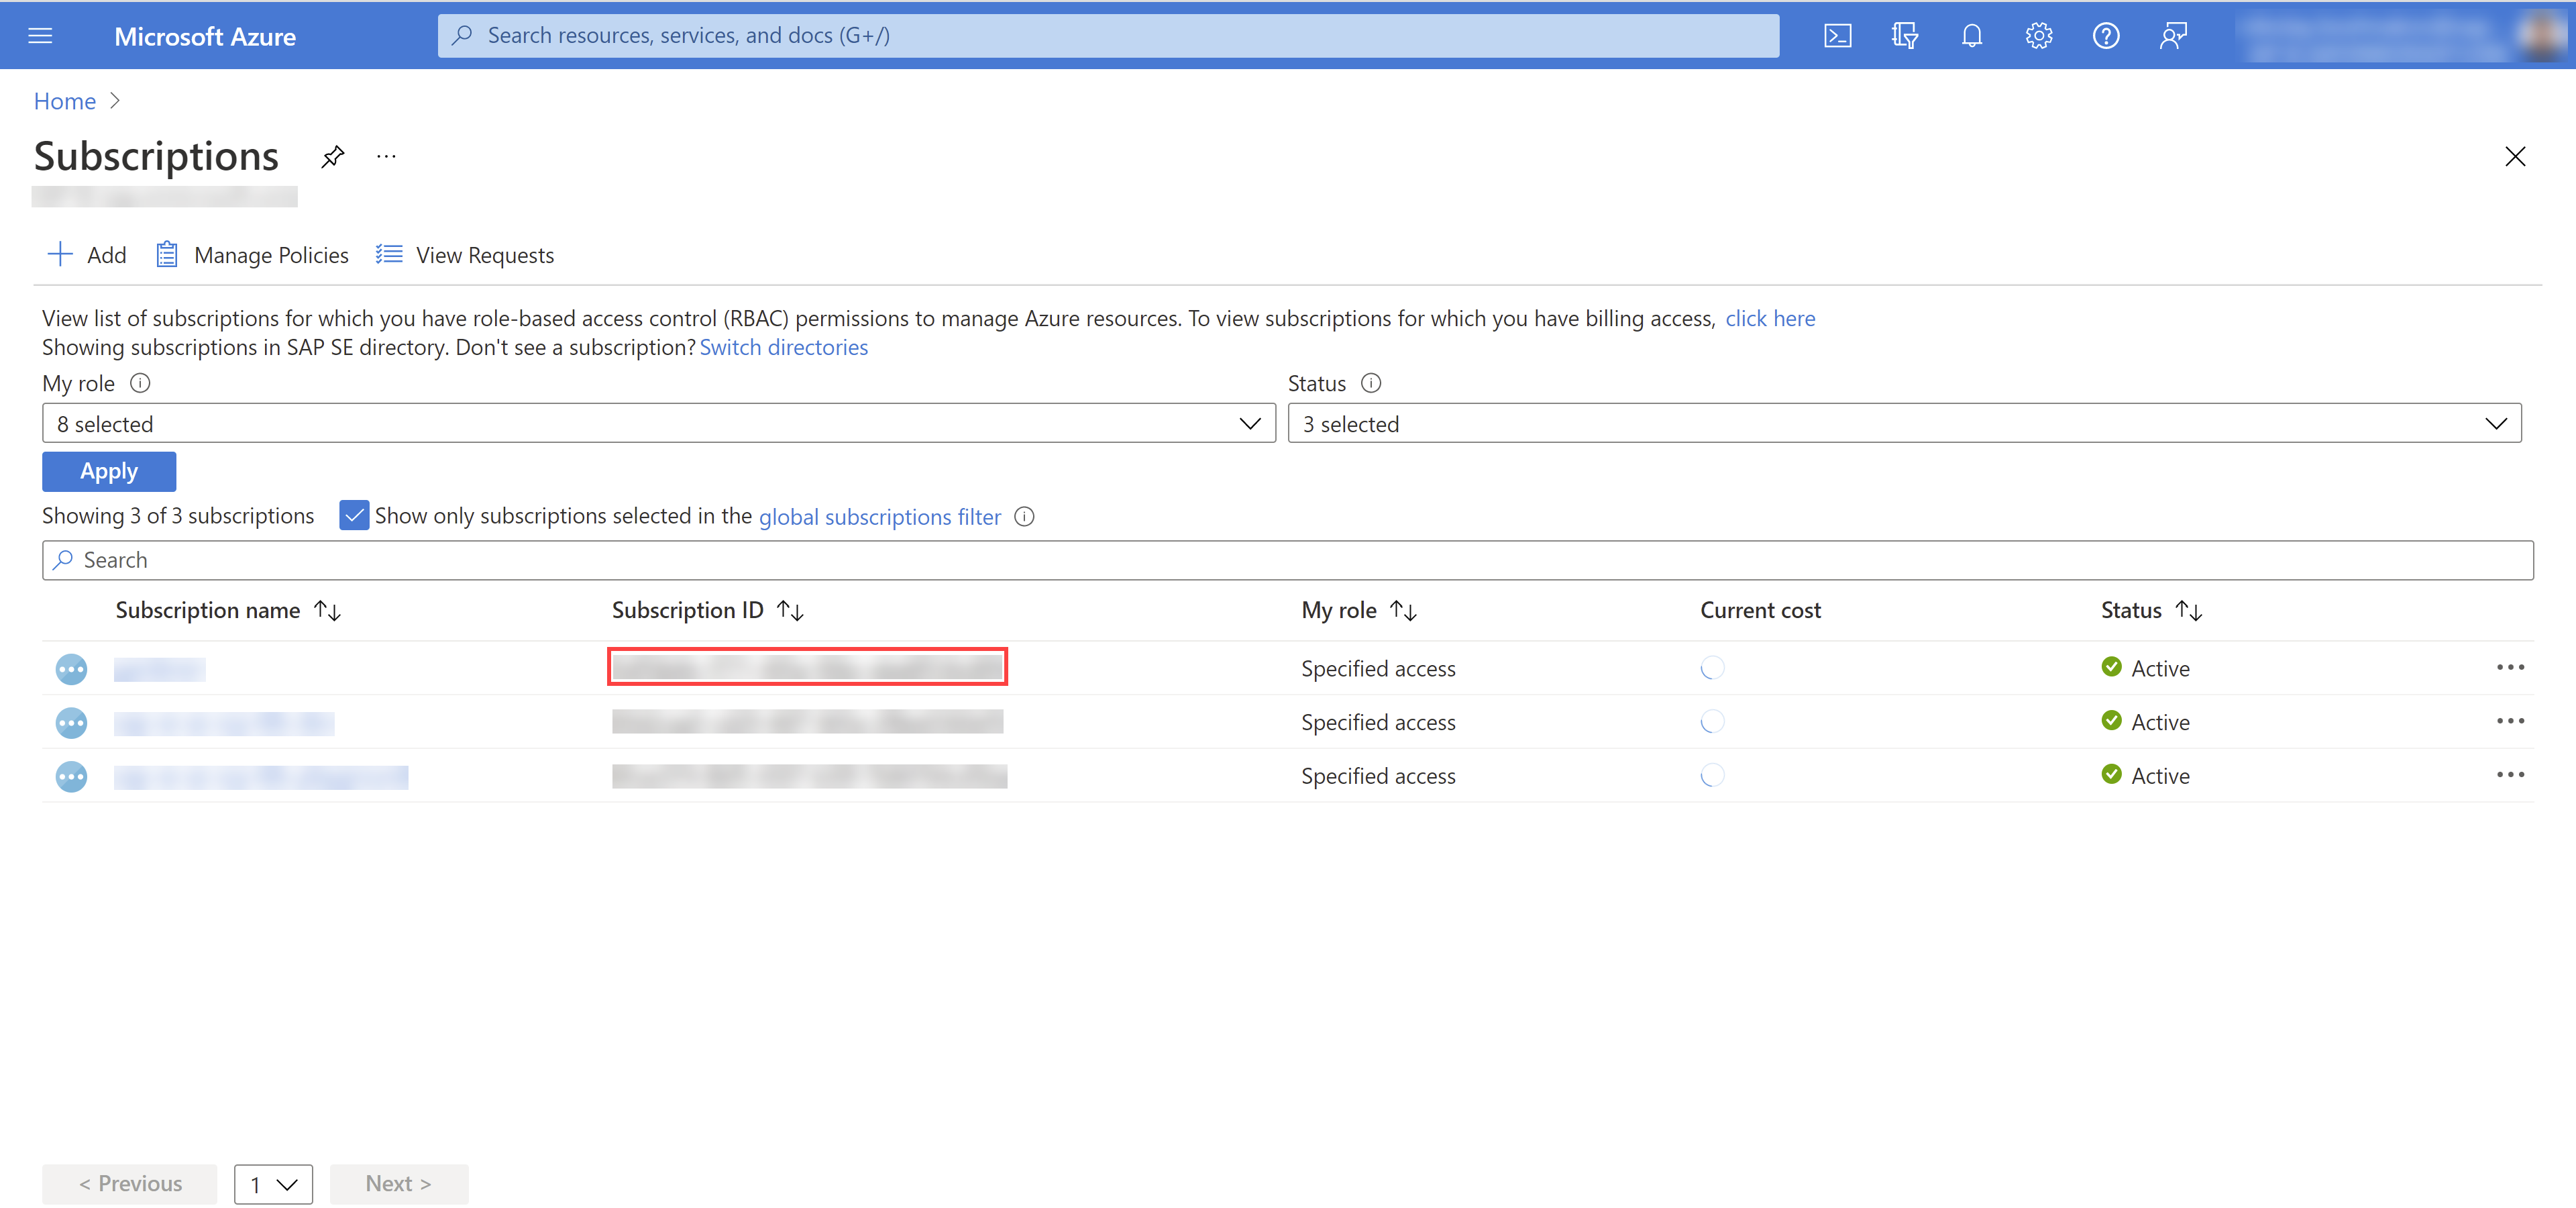
Service Principal (SPN)
A service principal consist of a
ClientID(also calledApplicationID) and a Client Secret. For more information, see Application and service principal objects in Azure Active Directory. You need to obtain the:Client ID
Access the Azure Portal and navigate to the Active Directory service. Within the service navigate to App registrations and select your service principal. Copy the
ClientIDyou see there.Client Secret
Secrets for the Azure Account/Service Principal can be generated/rotated via the Azure Portal. After copying your
ClientID, in the Detail view of your Service Principal navigate to Certificates & secrets. In the section, you can generate a new secret.
Choose Secrets, then the plus icon
 and select Azure.
Create your secret.
- Type the name of your secret.
- Copy and paste the
TenantID,SubscriptionIDand the Service Principal credentials (ClientIDandClientSecret). - Choose Add secret.
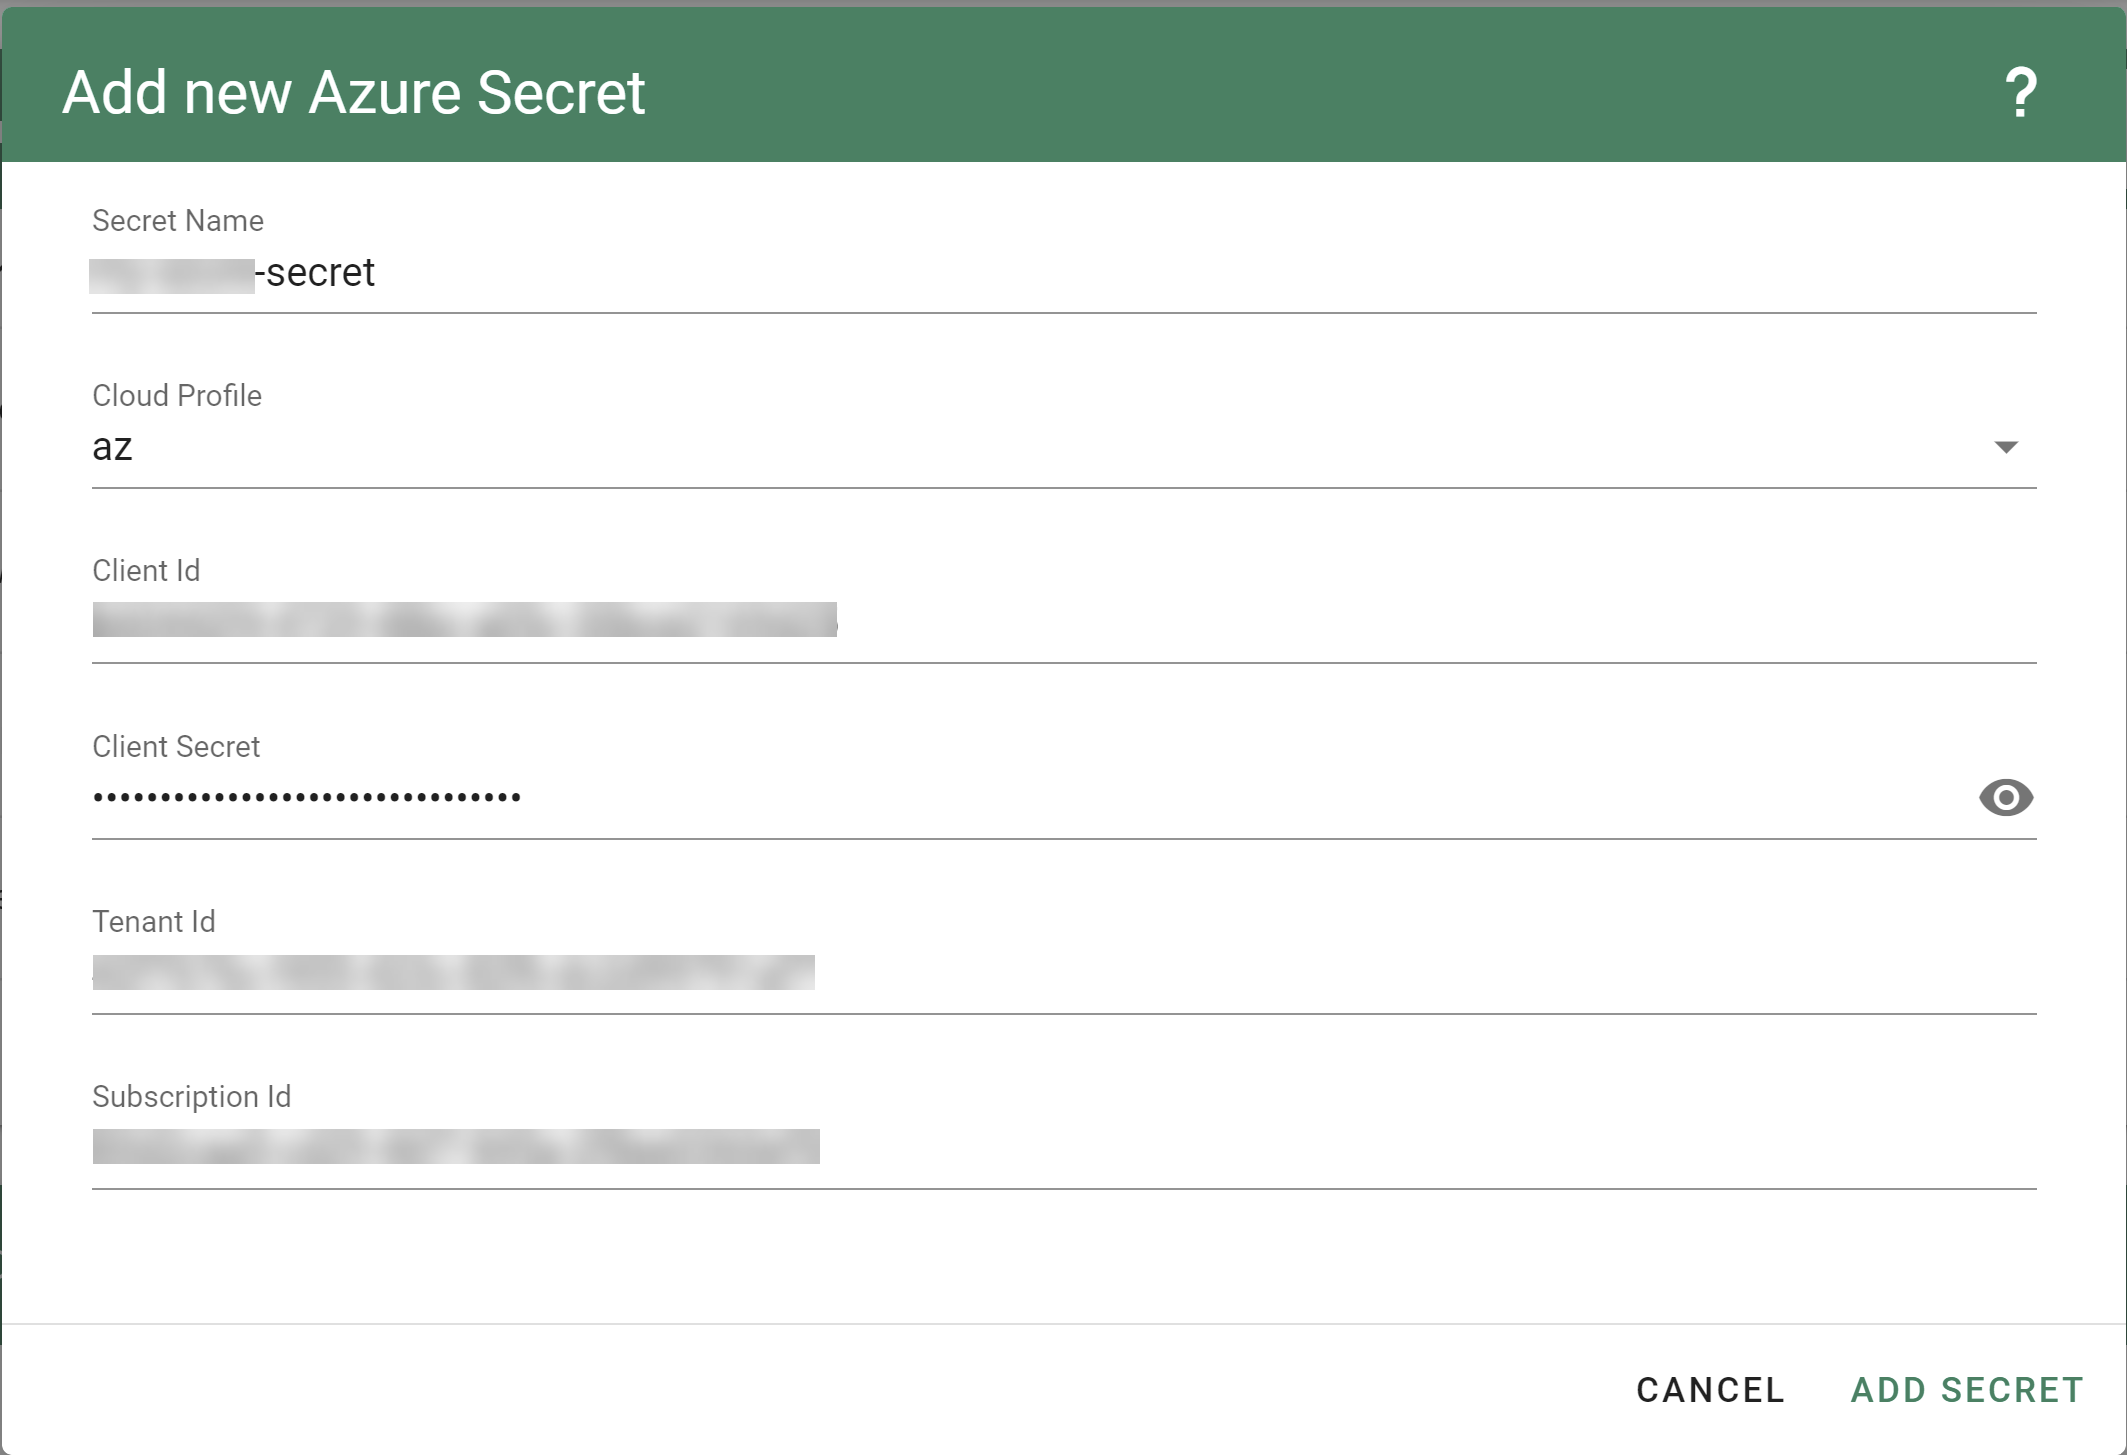
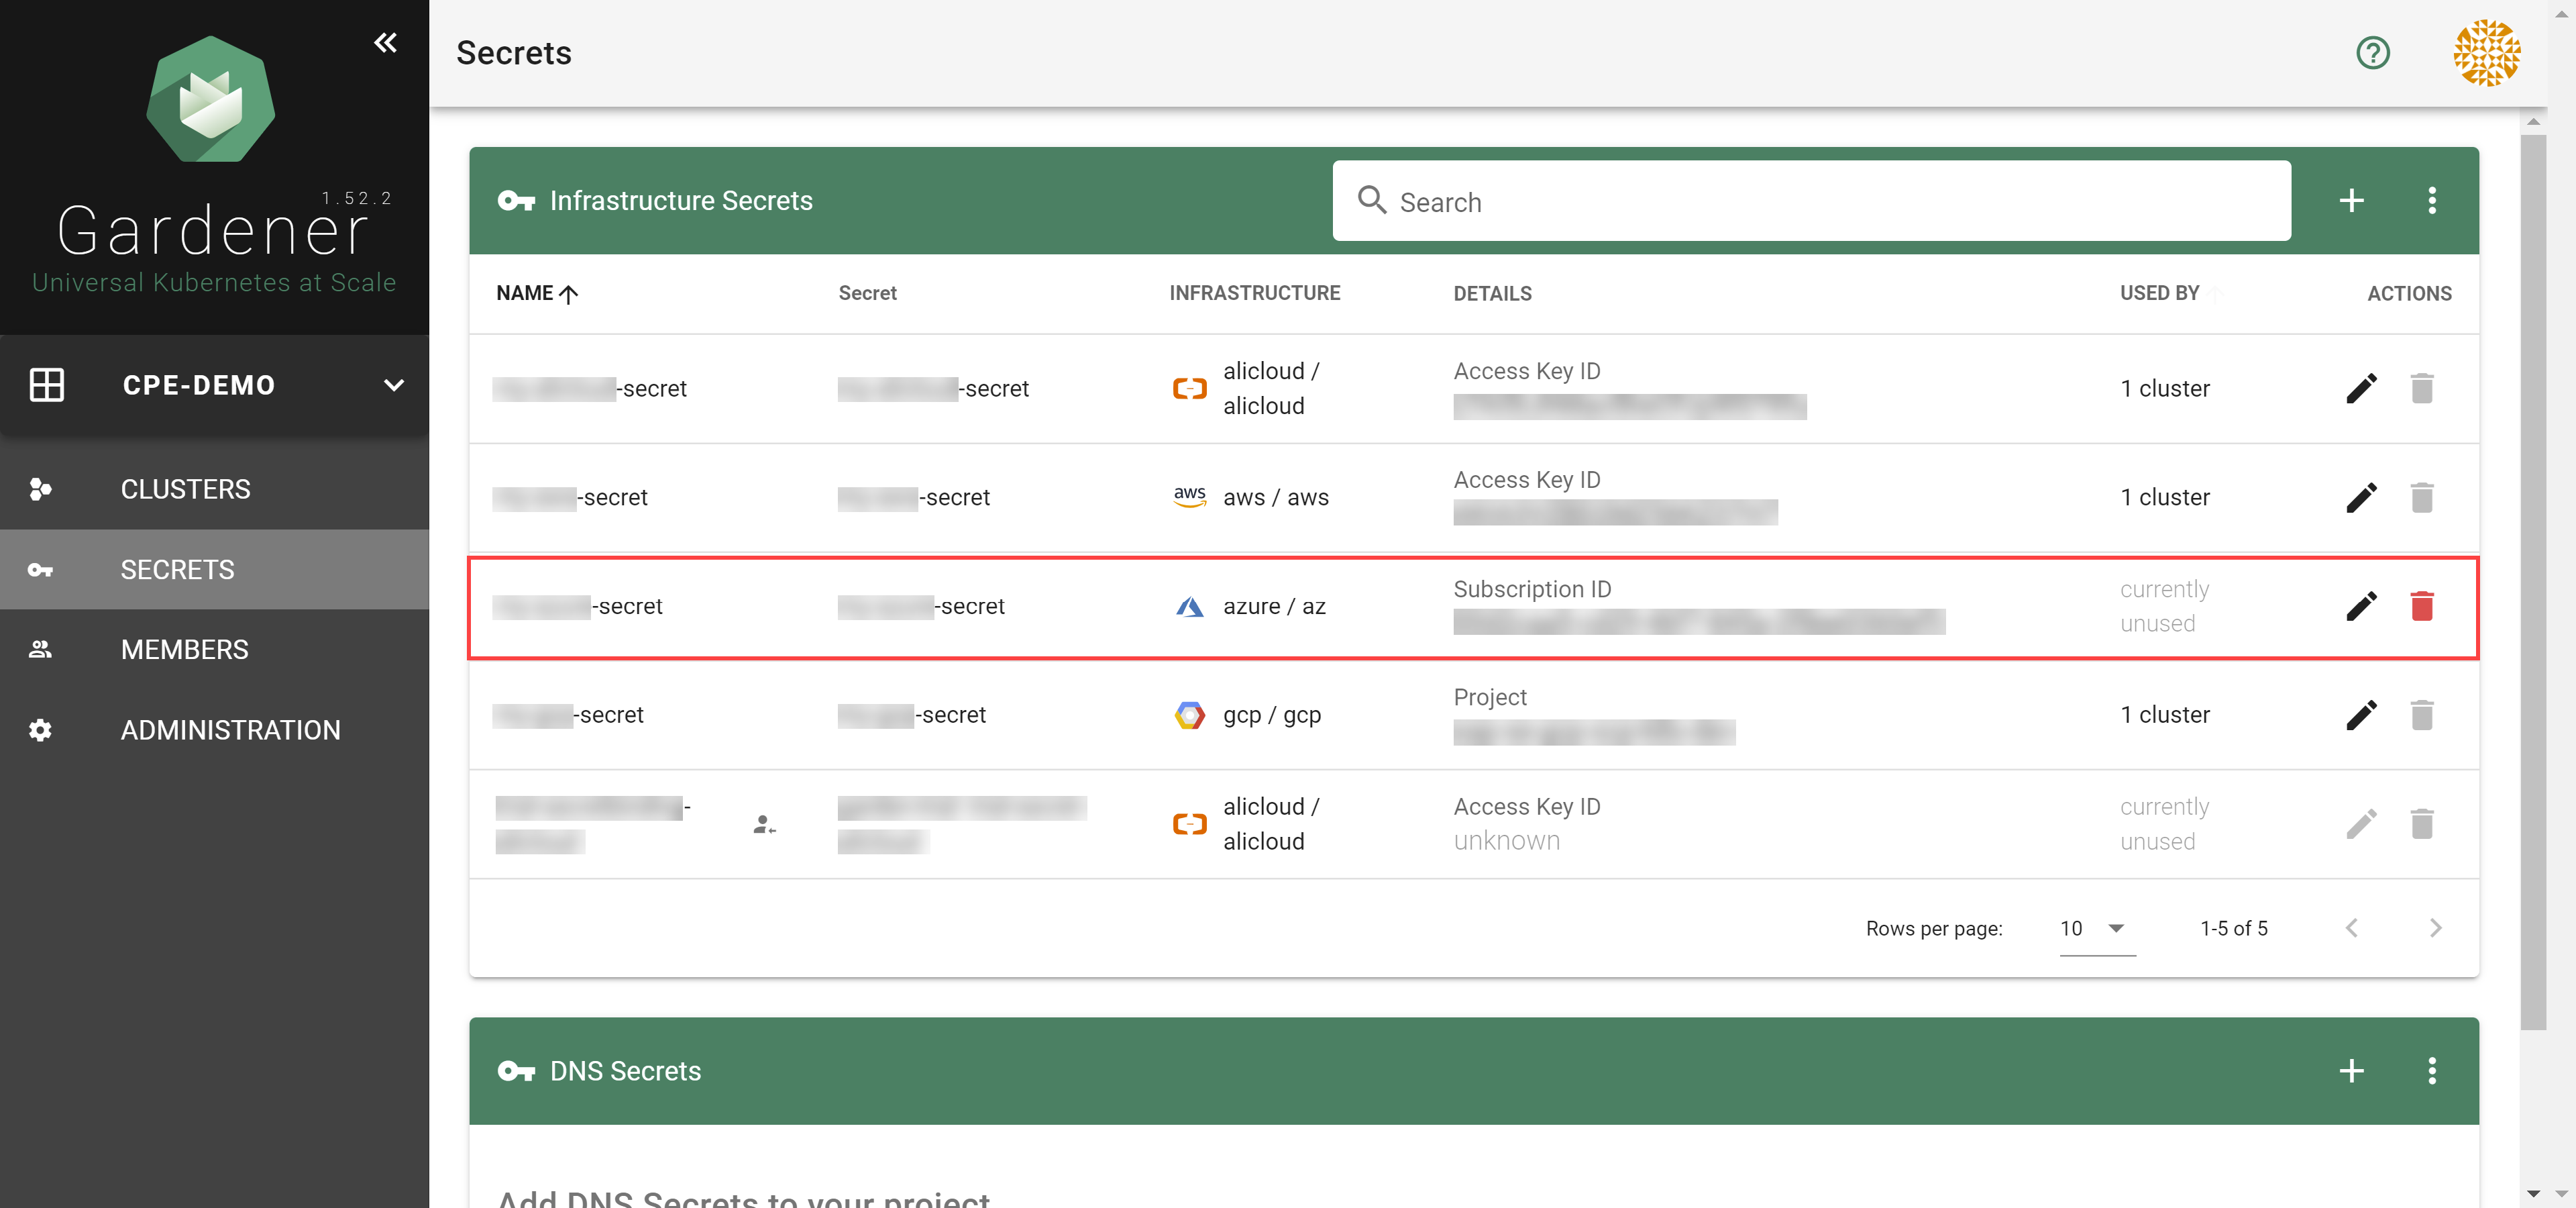
After completing these steps, you should see your newly created secret in the Infrastructure Secrets section.
Register resource providers for your subscription.
- Go to your Azure dashboard
- Navigate to Subscriptions -> <your_subscription>
- Pick resource providers from the sidebar
- Register microsoft.Network
- Register microsoft.Compute
To create a new cluster, choose Clusters and then the plus sign in the upper right corner.

In the Create Cluster section:
- Select Azure in the Infrastructure tab.
- Type the name of your cluster in the Cluster Details tab.
- Choose the secret you created before in the Infrastructure Details tab.
- Choose Create.

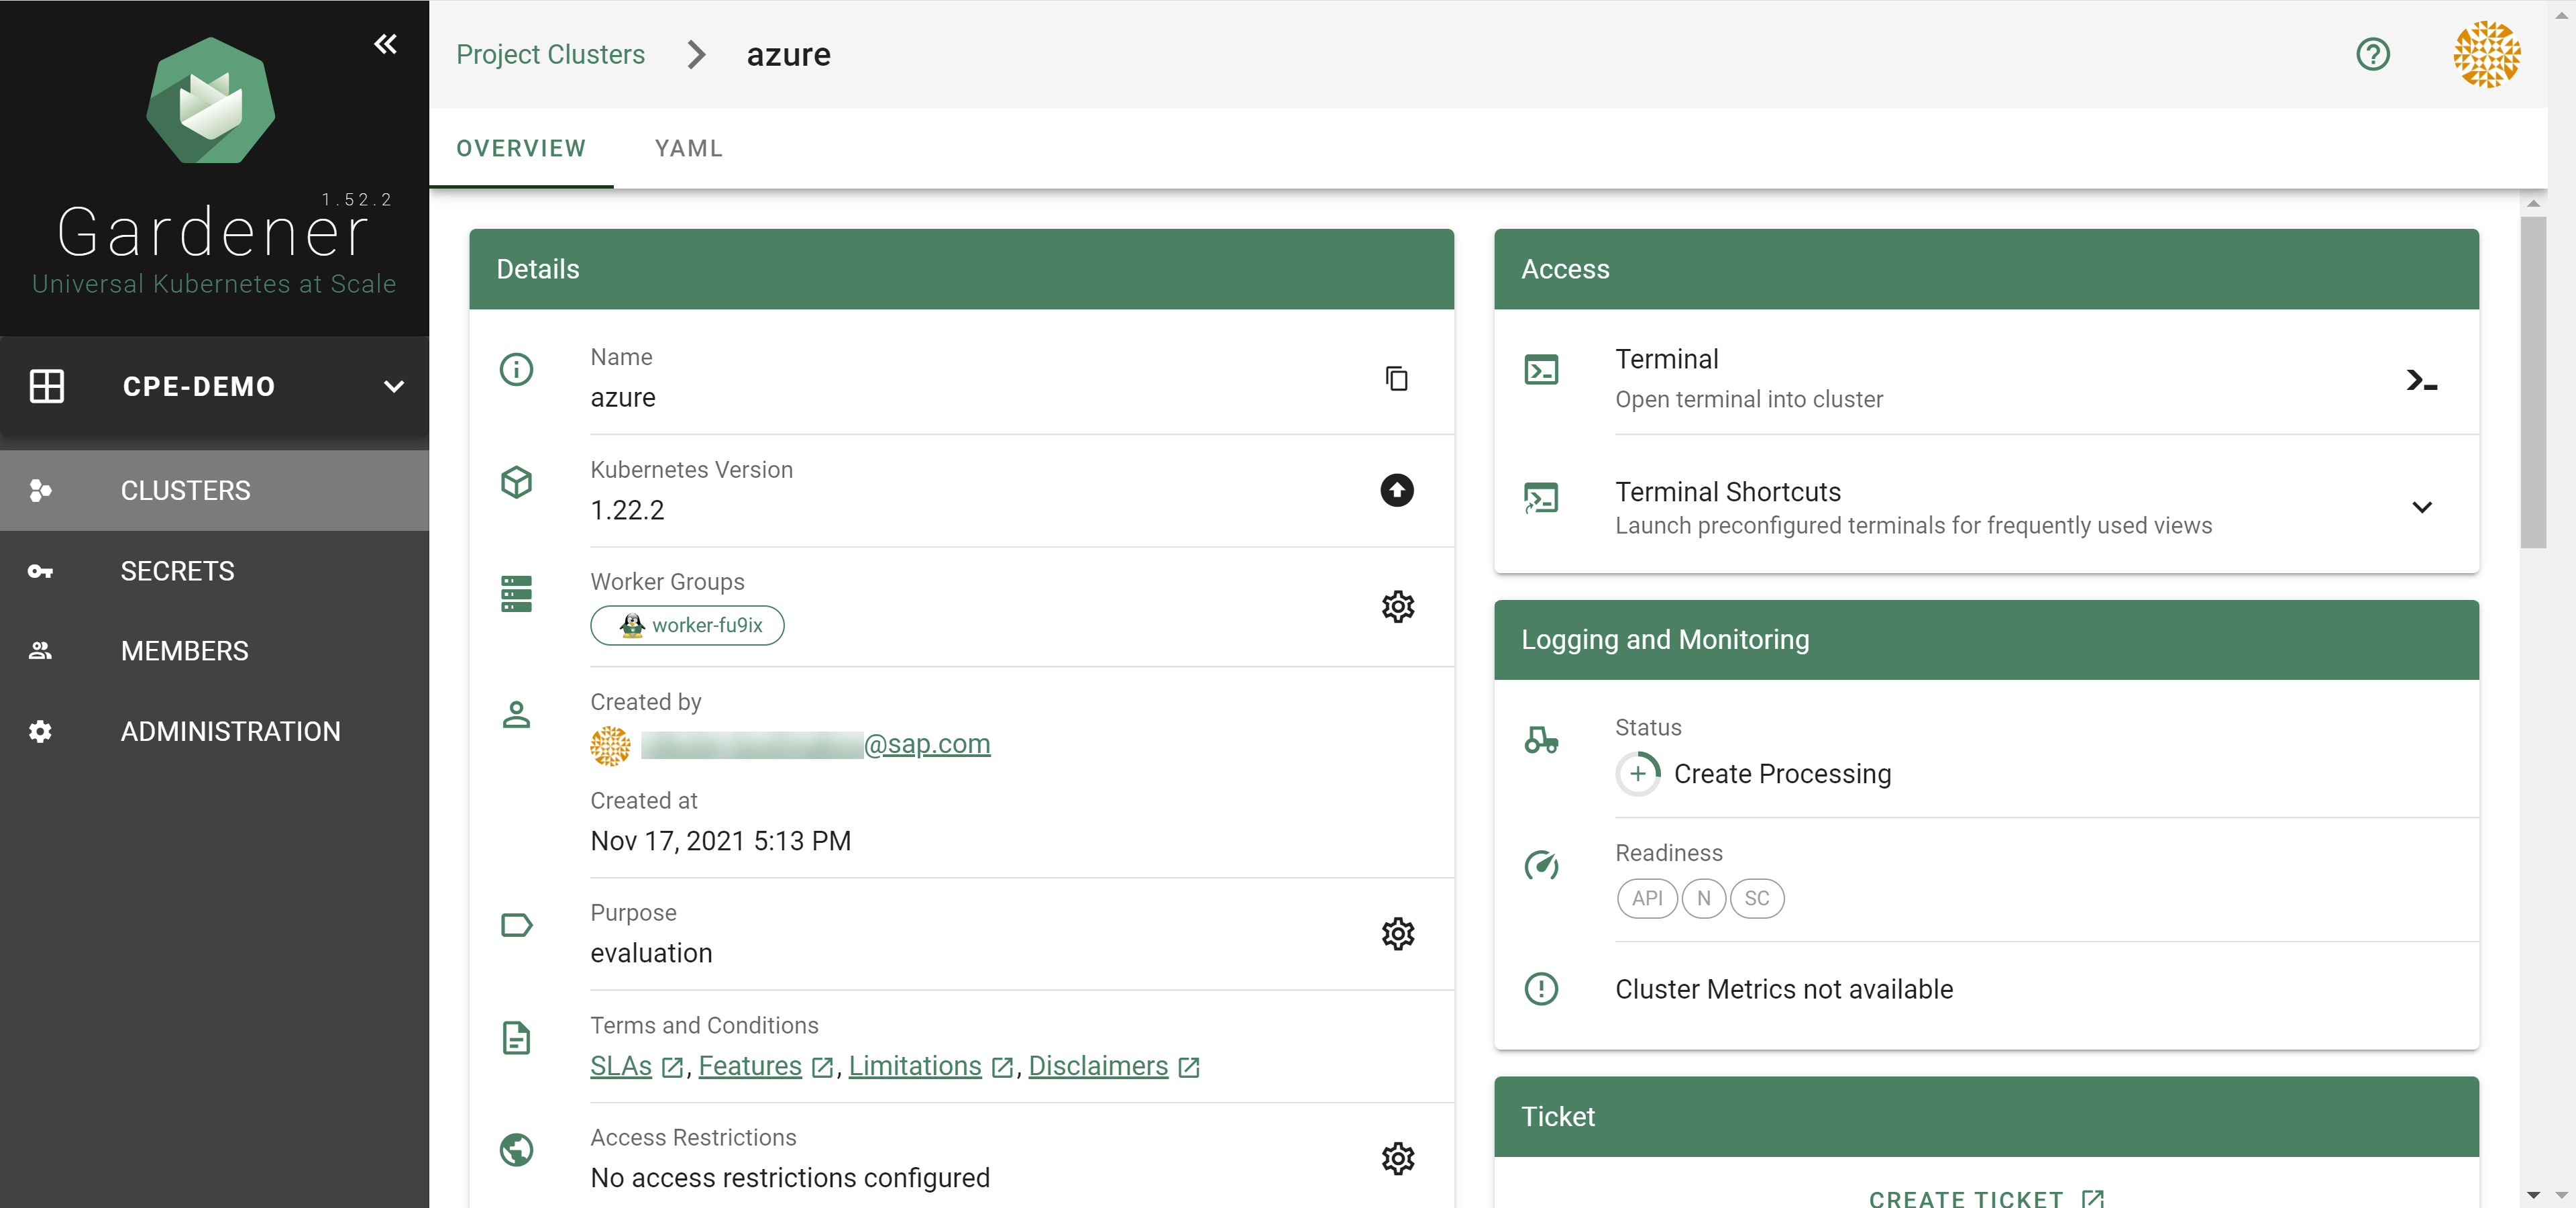
Wait for your cluster to get created.
Result
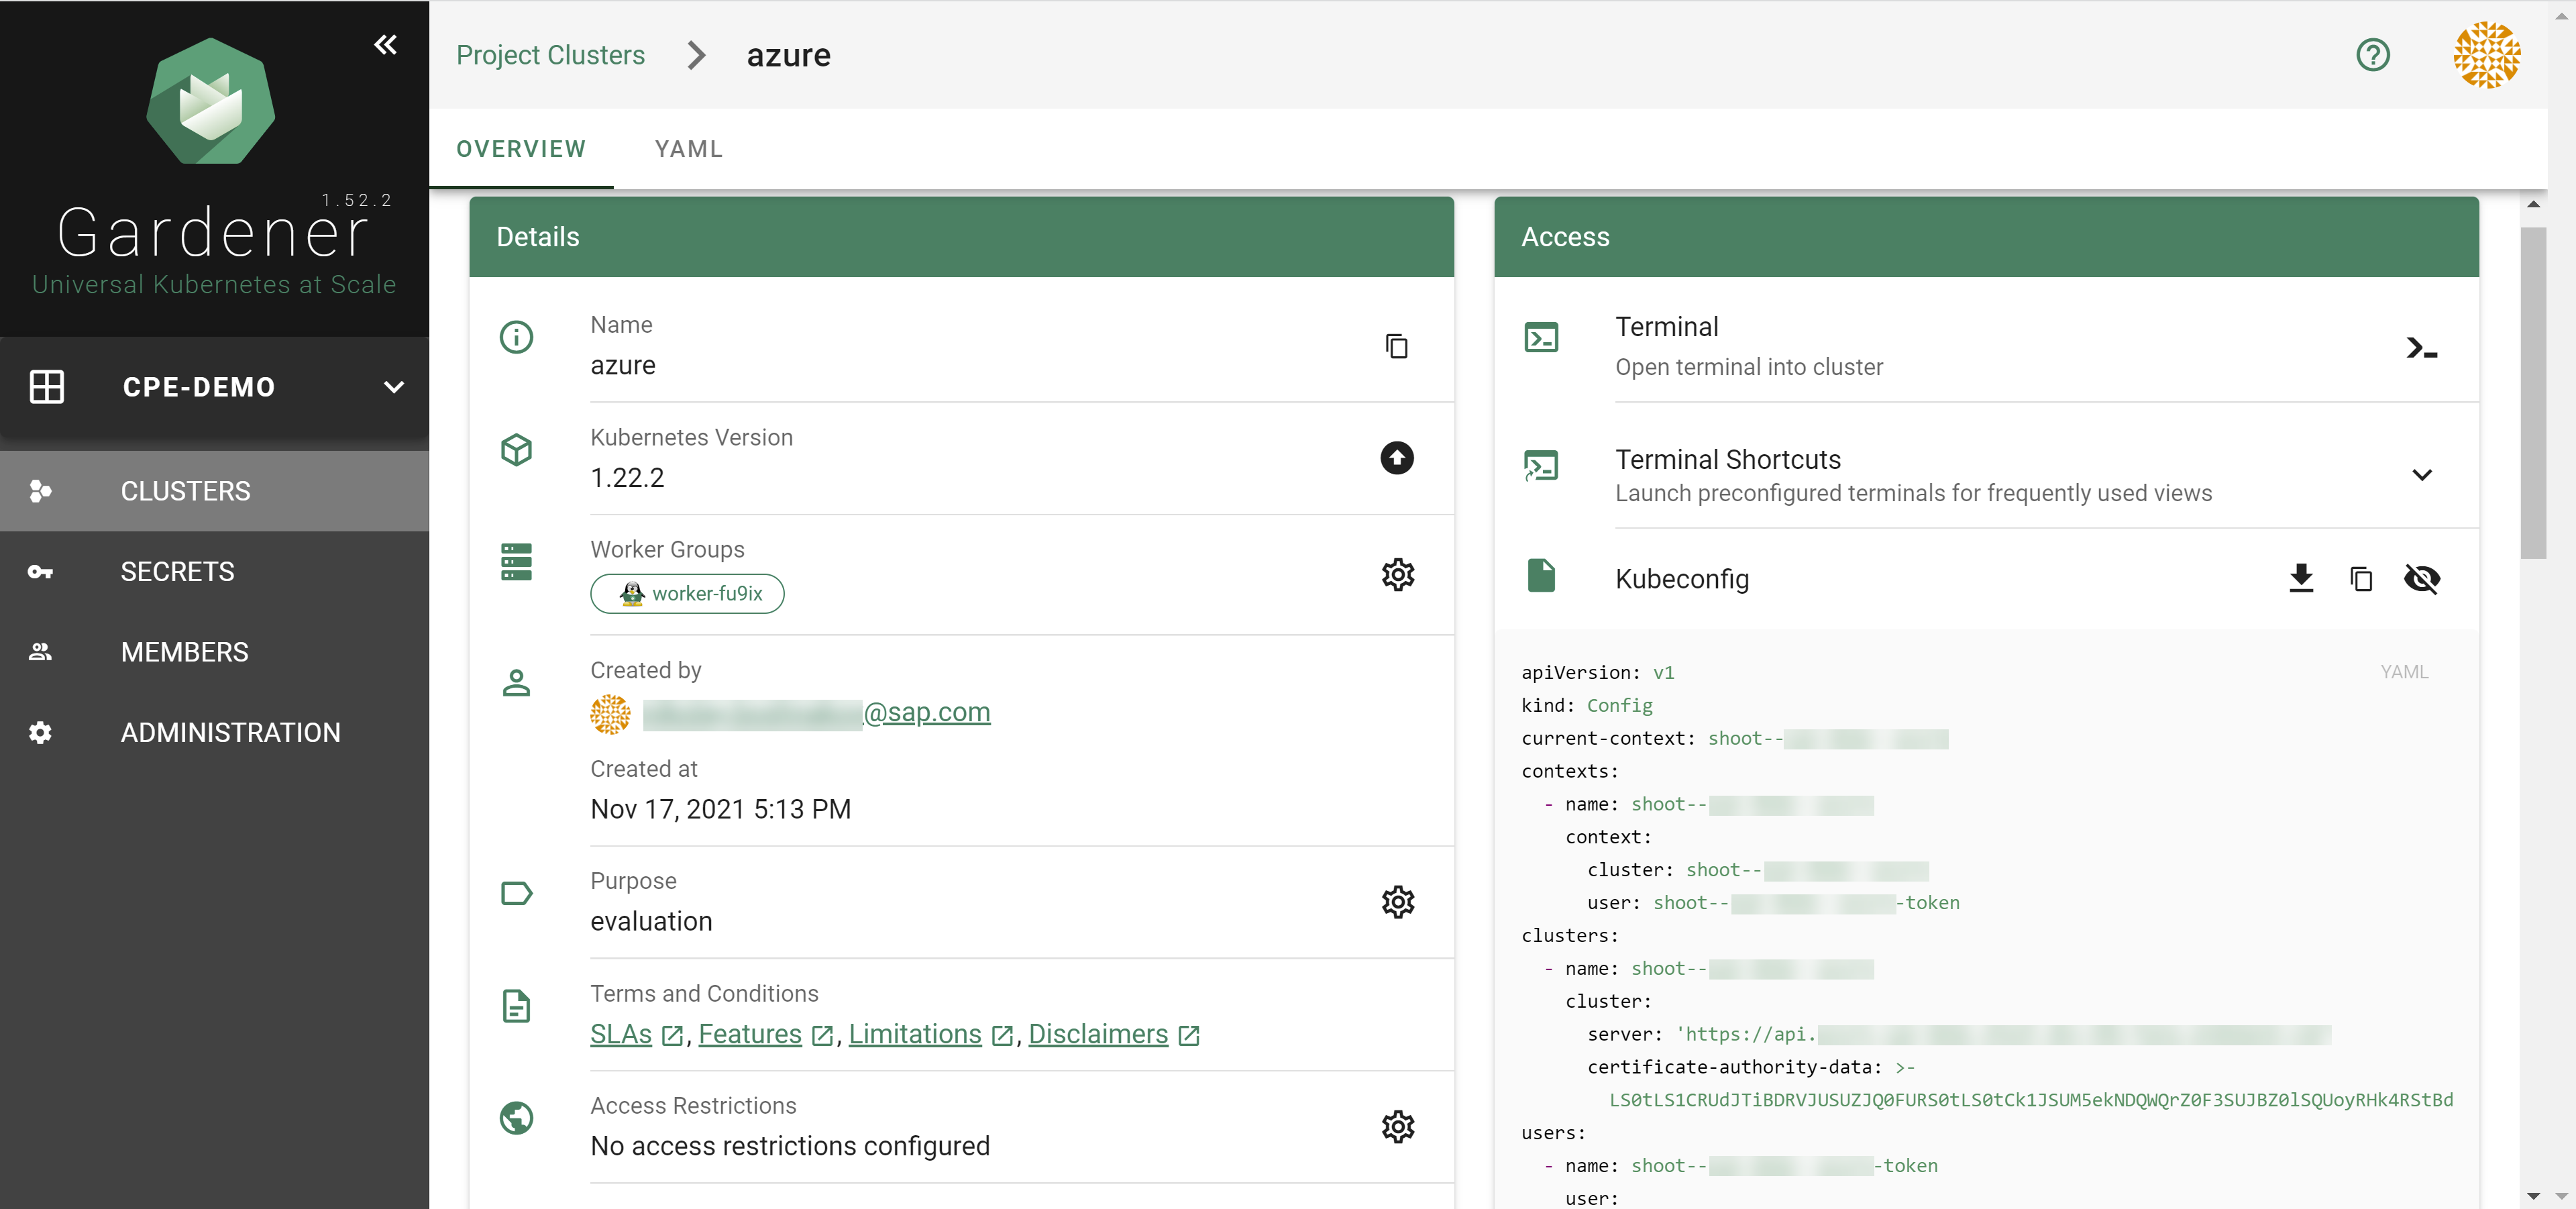
After completing the steps in this tutorial, you will be able to see and download the kubeconfig of your cluster.
