Install Knative in Gardener Clusters
Overview
This guide walks you through the installation of the latest version of Knative using pre-built images on a Gardener created cluster environment. To set up your own Gardener, see the documentation or have a look at the landscape-setup-template project. To learn more about this open source project, read the blog on kubernetes.io.
Prerequisites
Knative requires a Kubernetes cluster v1.15 or newer.
Steps
Install and Configure kubectl
If you already have
kubectlCLI, runkubectl version --shortto check the version. You need v1.10 or newer. If yourkubectlis older, follow the next step to install a newer version.
Access Gardener
Create a project in the Gardener dashboard. This will essentially create a Kubernetes namespace with the name
garden-<my-project>.Configure access to your Gardener project using a kubeconfig.
If you are not the Gardener Administrator already, you can create a technical user in the Gardener dashboard. Go to the "Members" section and add a service account. You can then download the kubeconfig for your project. You can skip this step if you create your cluster using the user interface; it is only needed for programmatic access, make sure you set
export KUBECONFIG=garden-my-project.yamlin your shell.
Creating a Kubernetes Cluster
You can create your cluster using kubectl CLI by providing a cluster specification yaml file. You can find an example for GCP in the gardener/gardener repository. Make sure the namespace matches that of your project. Then just apply the prepared so-called "shoot" cluster CRD with kubectl:
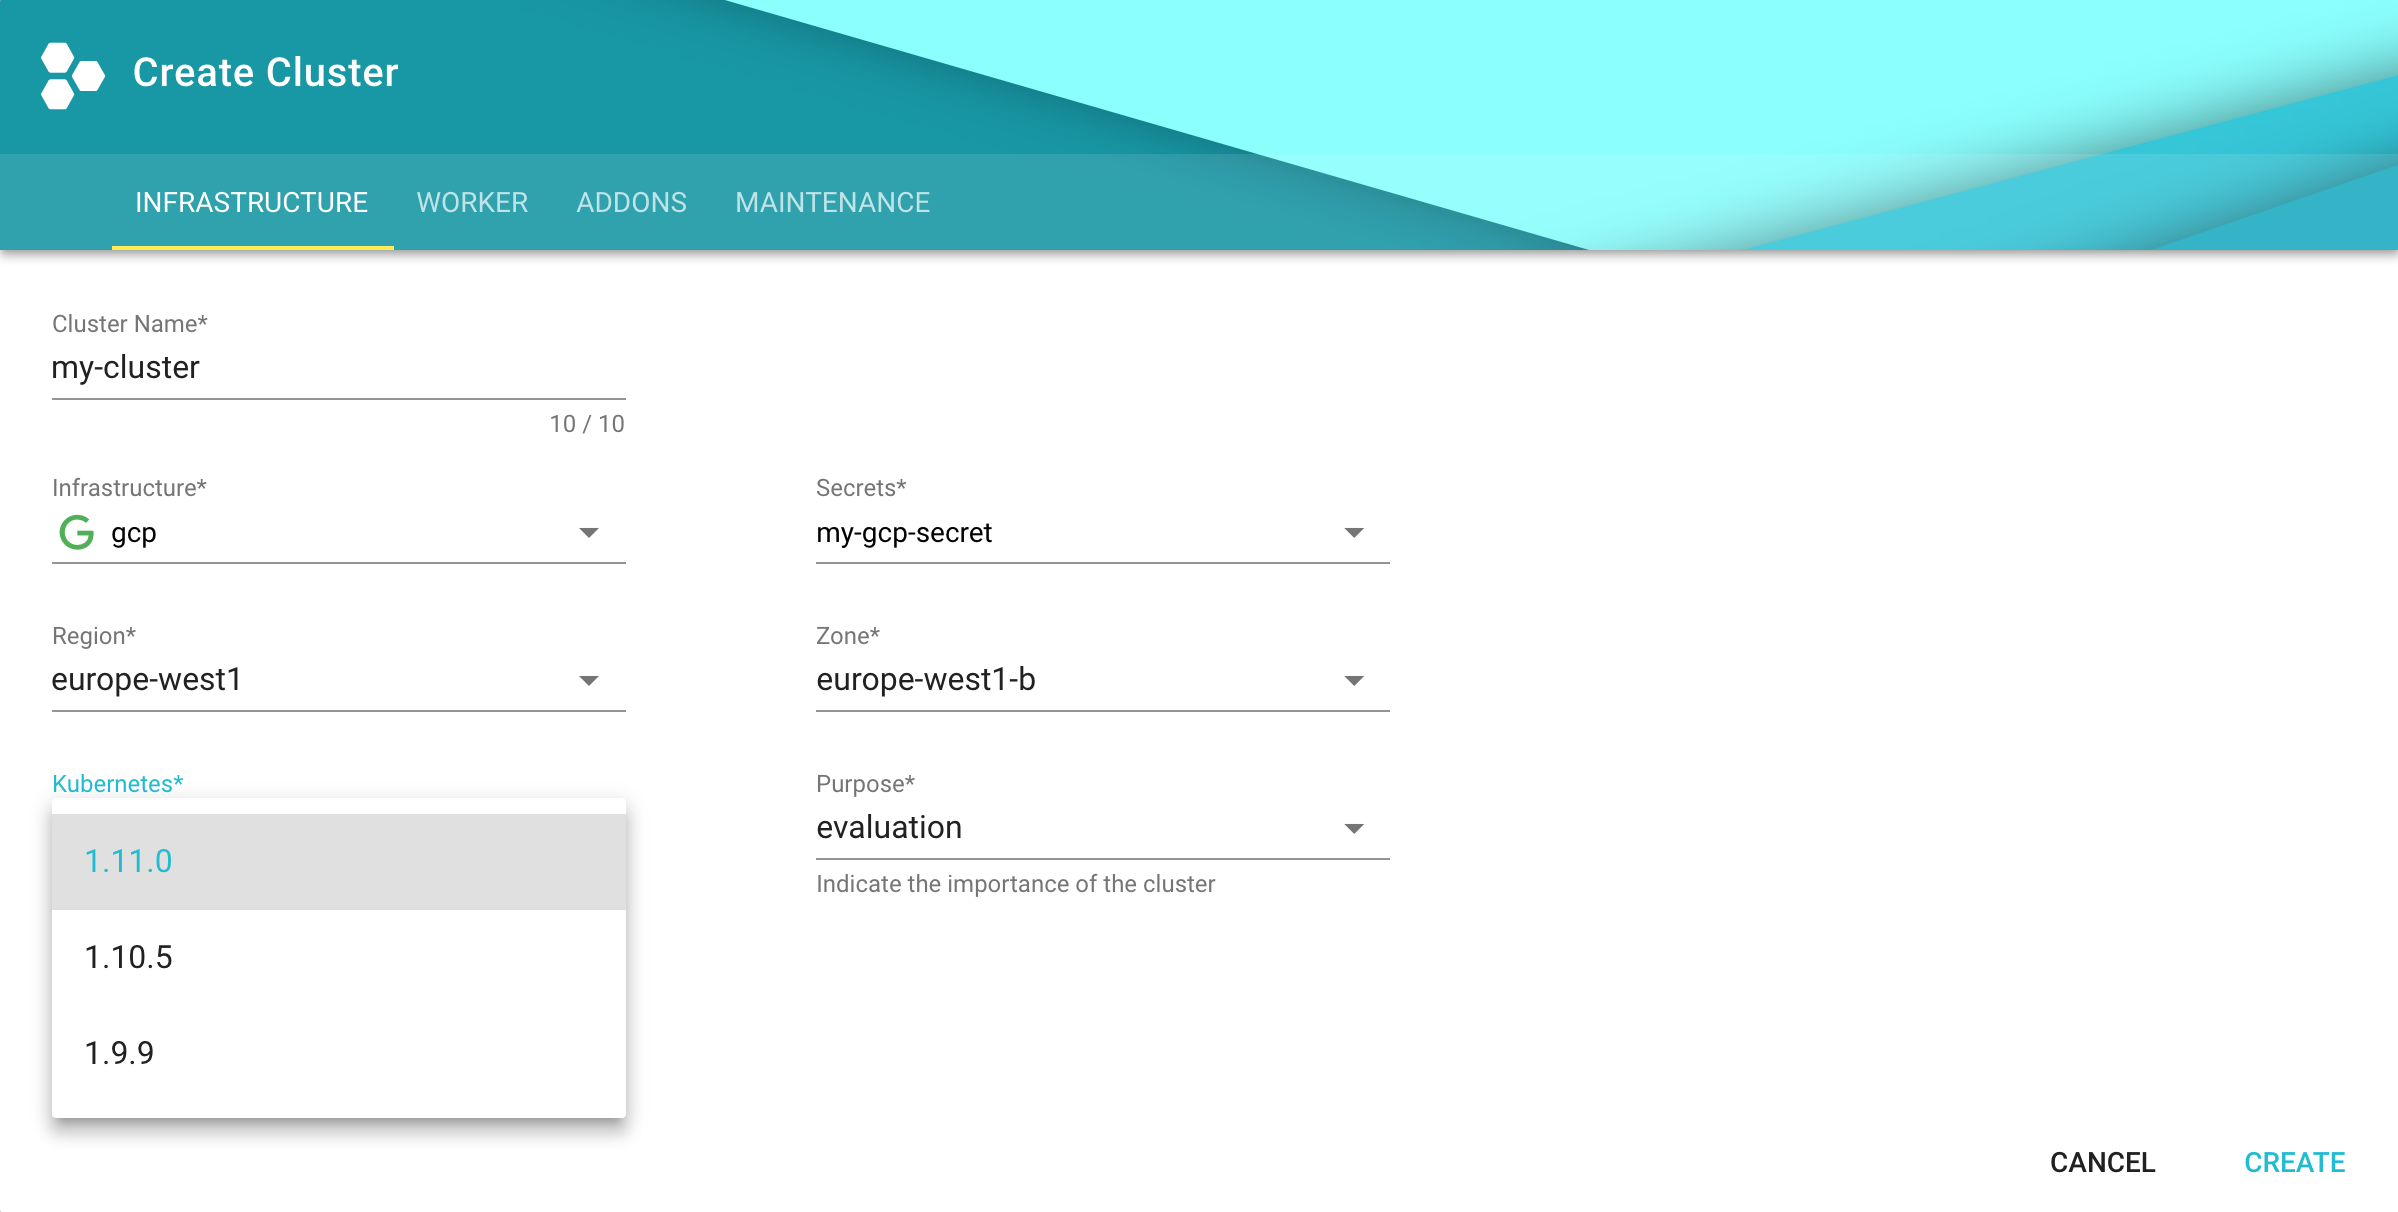
kubectl apply --filename my-cluster.yamlThe easier alternative is to create the cluster following the cluster creation wizard in the Gardener dashboard: 
Configure kubectl for Your Cluster
You can now download the kubeconfig for your freshly created cluster in the Gardener dashboard or via the CLI as follows:
kubectl --namespace shoot--my-project--my-cluster get secret kubecfg --output jsonpath={.data.kubeconfig} | base64 --decode > my-cluster.yamlThis kubeconfig file has full administrators access to you cluster. For the rest of this guide, be sure you have export KUBECONFIG=my-cluster.yaml set.
Installing Istio
Knative depends on Istio. If your cloud platform offers a managed Istio installation, we recommend installing Istio that way, unless you need the ability to customize your installation.
Otherwise, see the Installing Istio for Knative guide to install Istio.
You must install Istio on your Kubernetes cluster before continuing with these instructions to install Knative.
Installing cluster-local-gateway for Serving Cluster-Internal Traffic
If you installed Istio, you can install a cluster-local-gateway within your Knative cluster so that you can serve cluster-internal traffic. If you want to configure your revisions to use routes that are visible only within your cluster, install and use the cluster-local-gateway.
Installing Knative
The following commands install all available Knative components as well as the standard set of observability plugins. Knative's installation guide - Installing Knative.
If you are upgrading from Knative 0.3.x: Update your domain and static IP address to be associated with the LoadBalancer
istio-ingressgatewayinstead ofknative-ingressgateway. Then run the following to clean up leftover resources:bashkubectl delete svc knative-ingressgateway -n istio-system kubectl delete deploy knative-ingressgateway -n istio-systemIf you have the Knative Eventing Sources component installed, you will also need to delete the following resource before upgrading:
bashkubectl delete statefulset/controller-manager -n knative-sourcesWhile the deletion of this resource during the upgrade process will not prevent modifications to Eventing Source resources, those changes will not be completed until the upgrade process finishes.
To install Knative, first install the CRDs by running the
kubectl applycommand once with the-l knative.dev/crd-install=trueflag. This prevents race conditions during the install, which cause intermittent errors:bashkubectl apply --selector knative.dev/crd-install=true \ --filename https://github.com/knative/serving/releases/download/v0.12.1/serving.yaml \ --filename https://github.com/knative/eventing/releases/download/v0.12.1/eventing.yaml \ --filename https://github.com/knative/serving/releases/download/v0.12.1/monitoring.yamlTo complete the installation of Knative and its dependencies, run the
kubectl applycommand again, this time without the--selectorflag:bashkubectl apply --filename https://github.com/knative/serving/releases/download/v0.12.1/serving.yaml \ --filename https://github.com/knative/eventing/releases/download/v0.12.1/eventing.yaml \ --filename https://github.com/knative/serving/releases/download/v0.12.1/monitoring.yamlMonitor the Knative components until all of the components show a
STATUSofRunning:bashkubectl get pods --namespace knative-serving kubectl get pods --namespace knative-eventing kubectl get pods --namespace knative-monitoring
Set Your Custom Domain
- Fetch the external IP or CNAME of the knative-ingressgateway:
kubectl --namespace istio-system get service knative-ingressgateway
NAME                     TYPE           CLUSTER-IP      EXTERNAL-IP     PORT(S)                                      AGE
knative-ingressgateway LoadBalancer 100.70.219.81 35.233.41.212 80:32380/TCP,443:32390/TCP,32400:32400/TCP 4d- Create a wildcard DNS entry in your custom domain to point to the above IP or CNAME:
*.knative.<my domain> == A 35.233.41.212
# or CNAME if you are on AWS
*.knative.<my domain> == CNAME a317a278525d111e89f272a164fd35fb-1510370581.eu-central-1.elb.amazonaws.com- Adapt your Knative config-domain (set your domain in the data field):
kubectl --namespace knative-serving get configmaps config-domain --output yaml
apiVersion: v1
data:
  knative.<my domain>: ""
kind: ConfigMap
  name: config-domain
  namespace: knative-serving
What's Next
Now that your cluster has Knative installed, you can see what Knative has to offer.
Deploy your first app with the Getting Started with Knative App Deployment guide.
Get started with Knative Eventing by walking through one of the Eventing Samples.
Install Cert-Manager if you want to use the automatic TLS cert provisioning feature.
Cleaning Up
Use the Gardener dashboard to delete your cluster, or execute the following with kubectl pointing to your garden-my-project.yaml kubeconfig:
kubectl --kubeconfig garden-my-project.yaml --namespace garden--my-project annotate shoot my-cluster confirmation.gardener.cloud/deletion=true

kubectl --kubeconfig garden-my-project.yaml --namespace garden--my-project delete shoot my-cluster